Configure RH-SSO to Identity Broker with Google by Hosted Domain
#google , #rh-sso , #keycloak , #ansible , #authentication , #authorization
Configure RH-SSO to Identity Broker with Google by Hosted Domain
In a browser, go to your RH-SSO admin console. This should be your hostname with context /auth/admin, e.g.
https://sso.apps.example.com/auth/admin/
Login with the username and password you set in your template for fields:
SSO_ADMIN_USERNAME=admin
SSO_ADMIN_PASSWORD=redacted
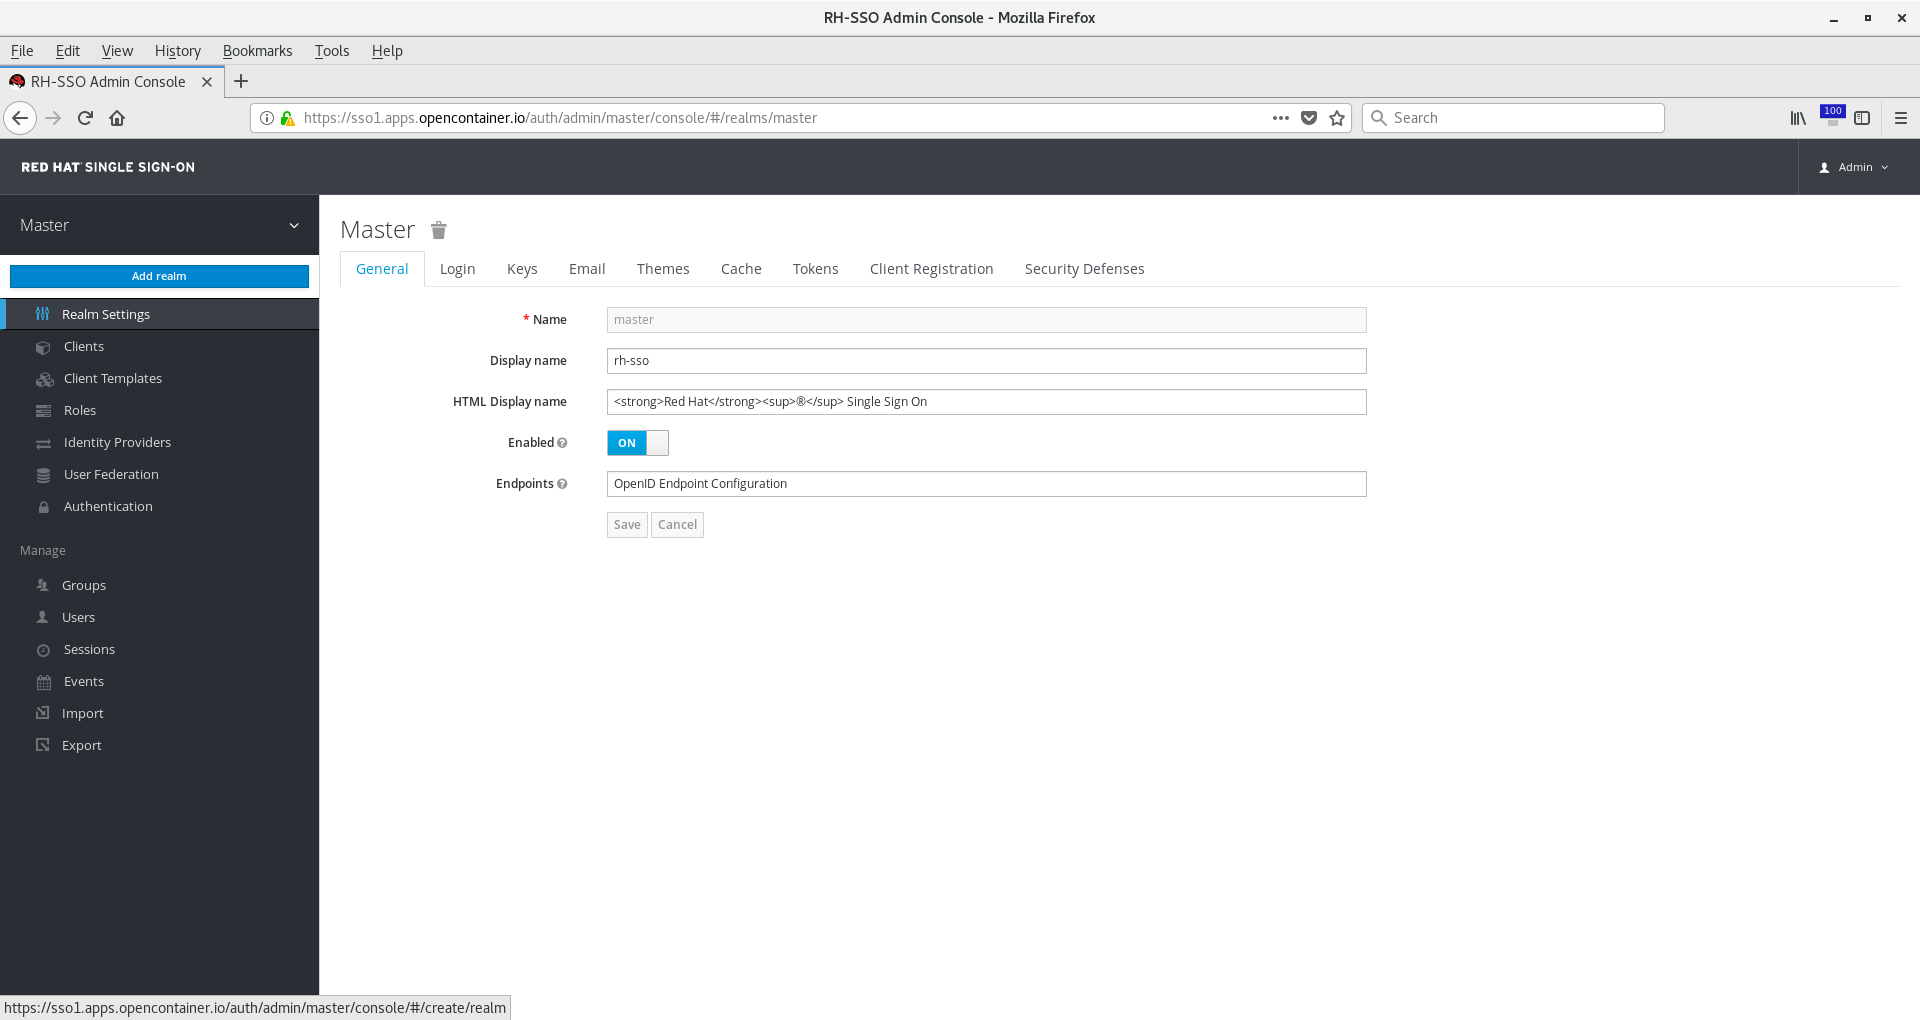
First, create a new realm for your OpenShift users. Out of the box, RH-SSO is configured with a master realm,
but this should only be used for administration of the RH-SSO server itself. Hover over the name "Master" on the left
menu bar, then click Add Realm.
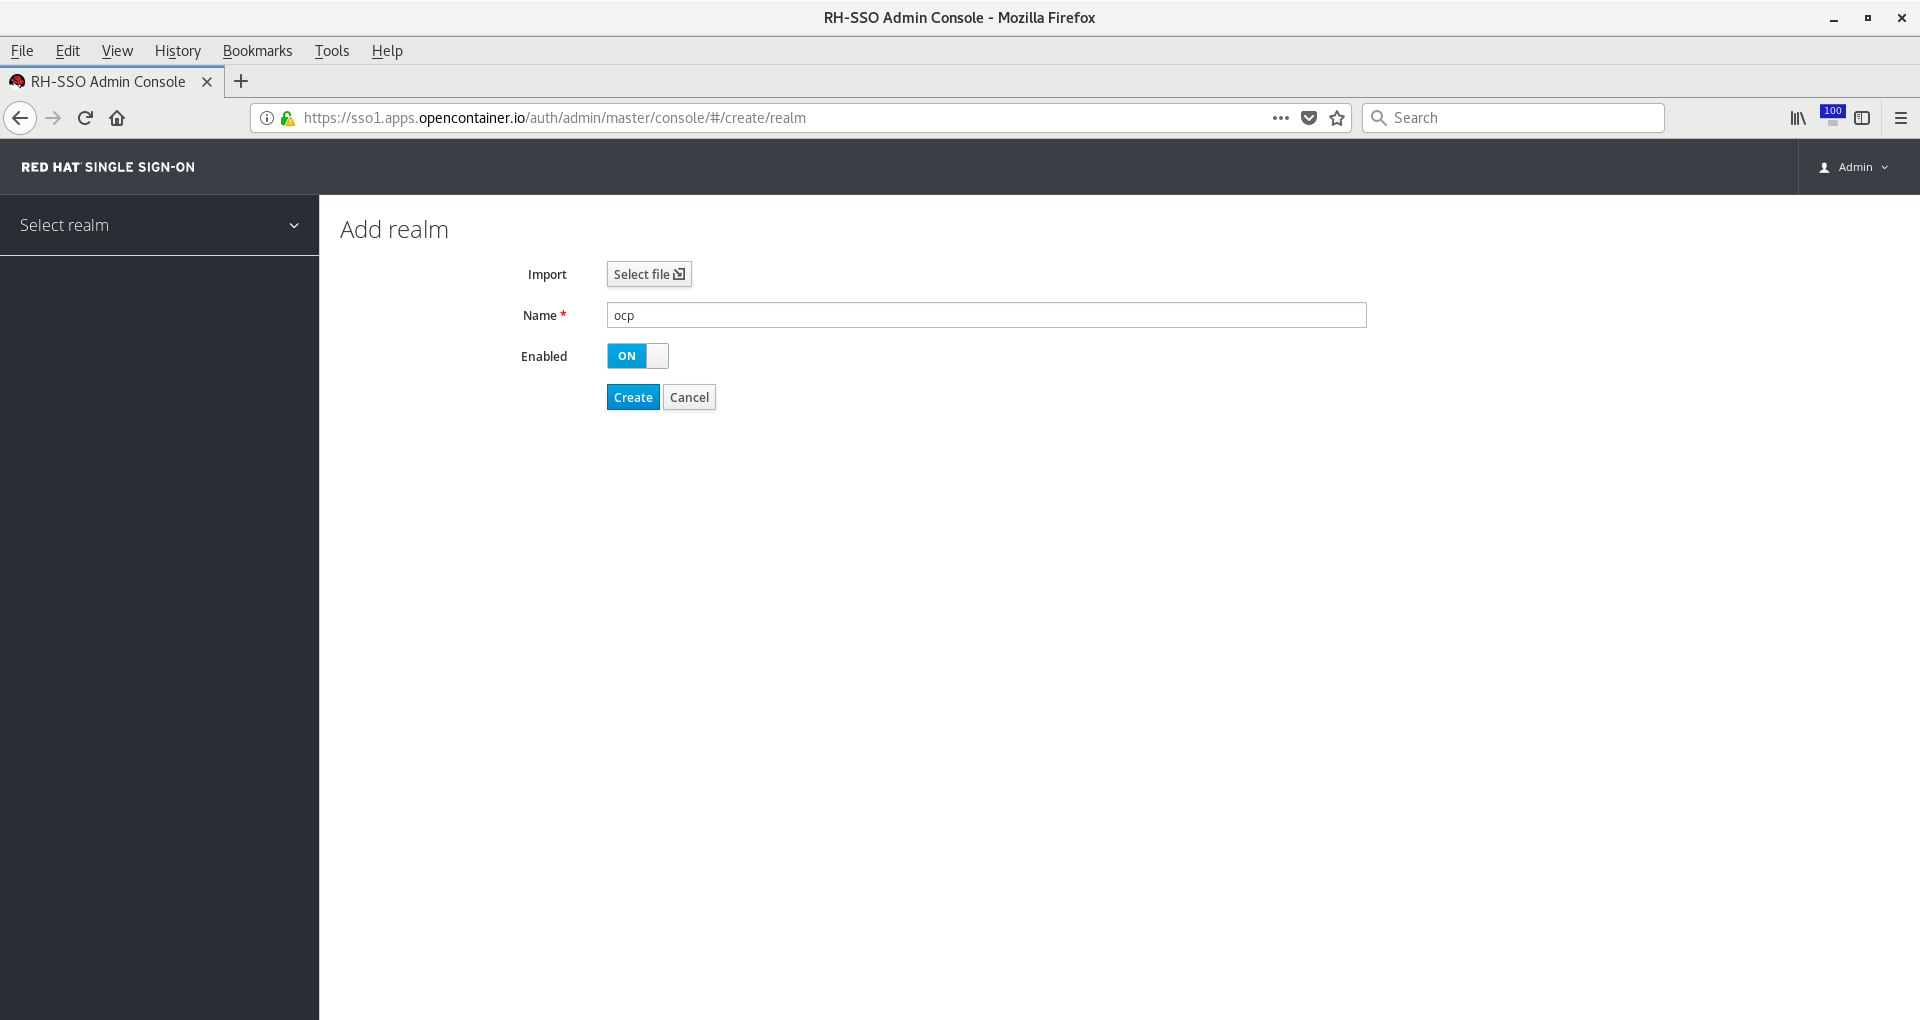
Name your realm something such as ocp and click Create.
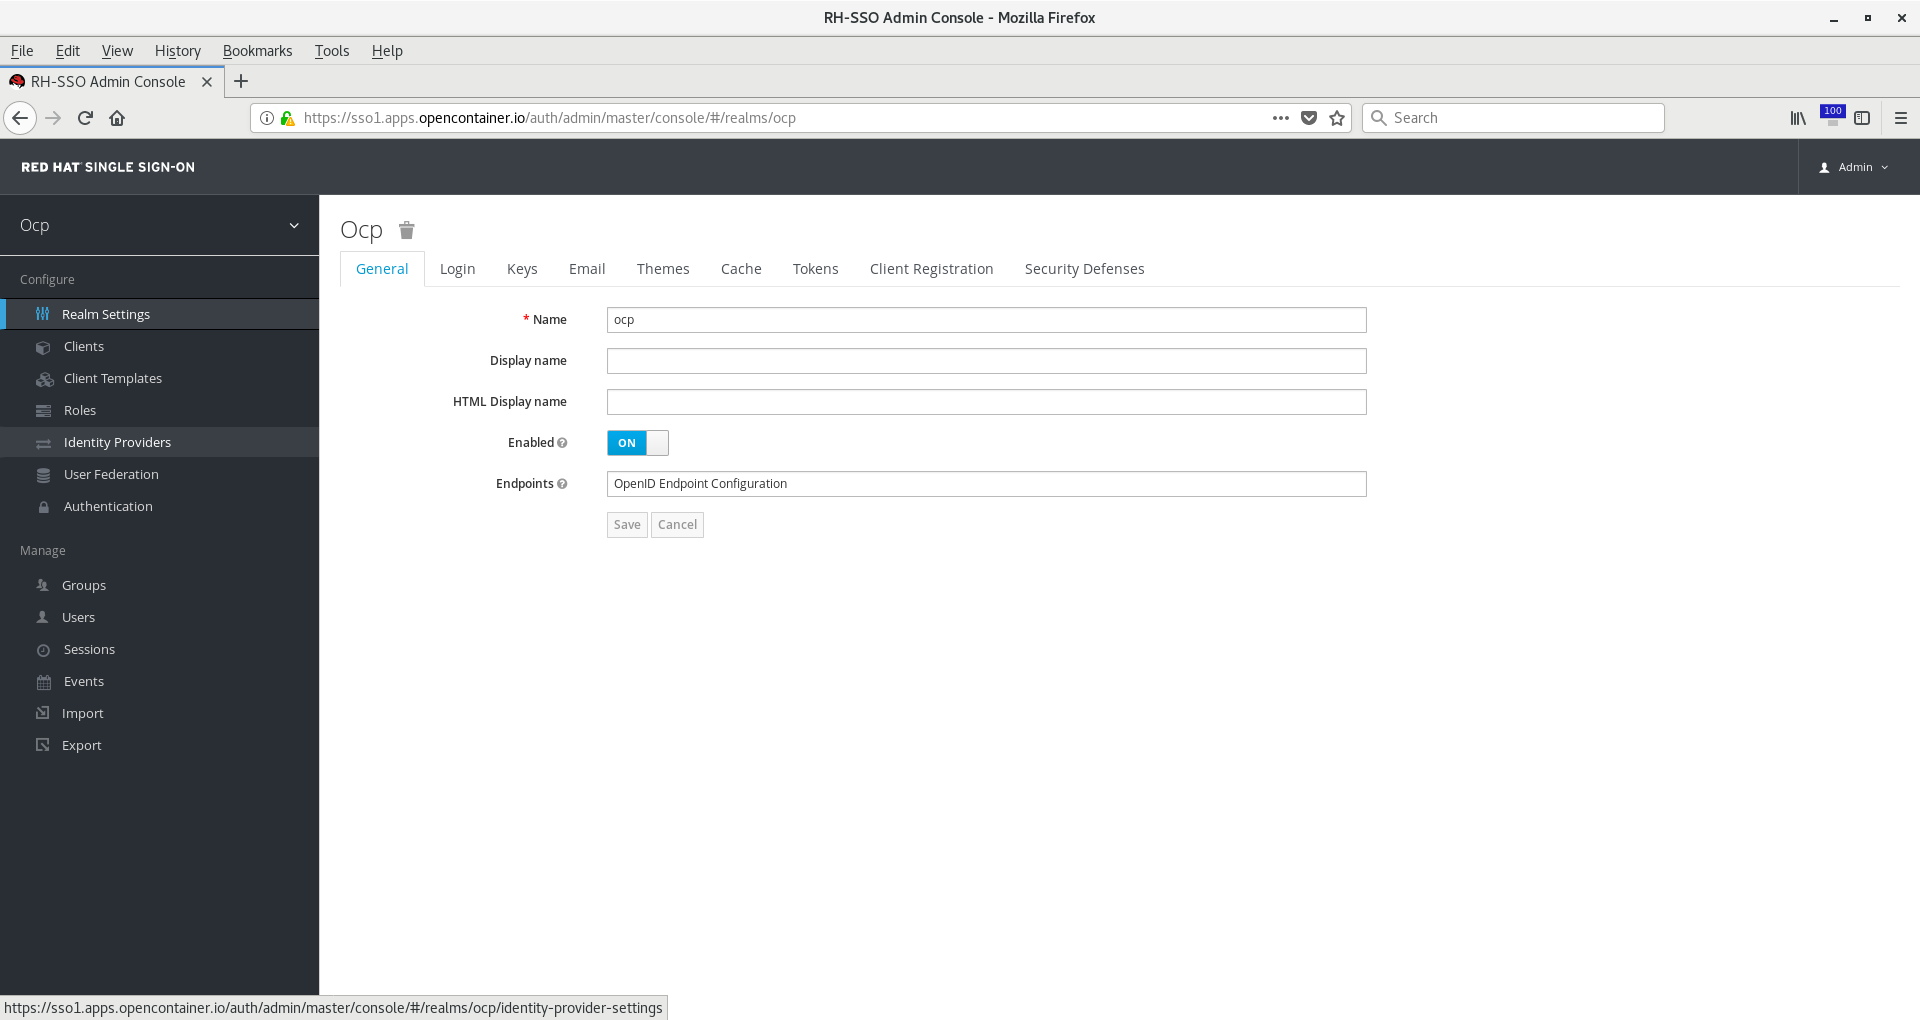
Click on Identity Providers on the left menu bar.
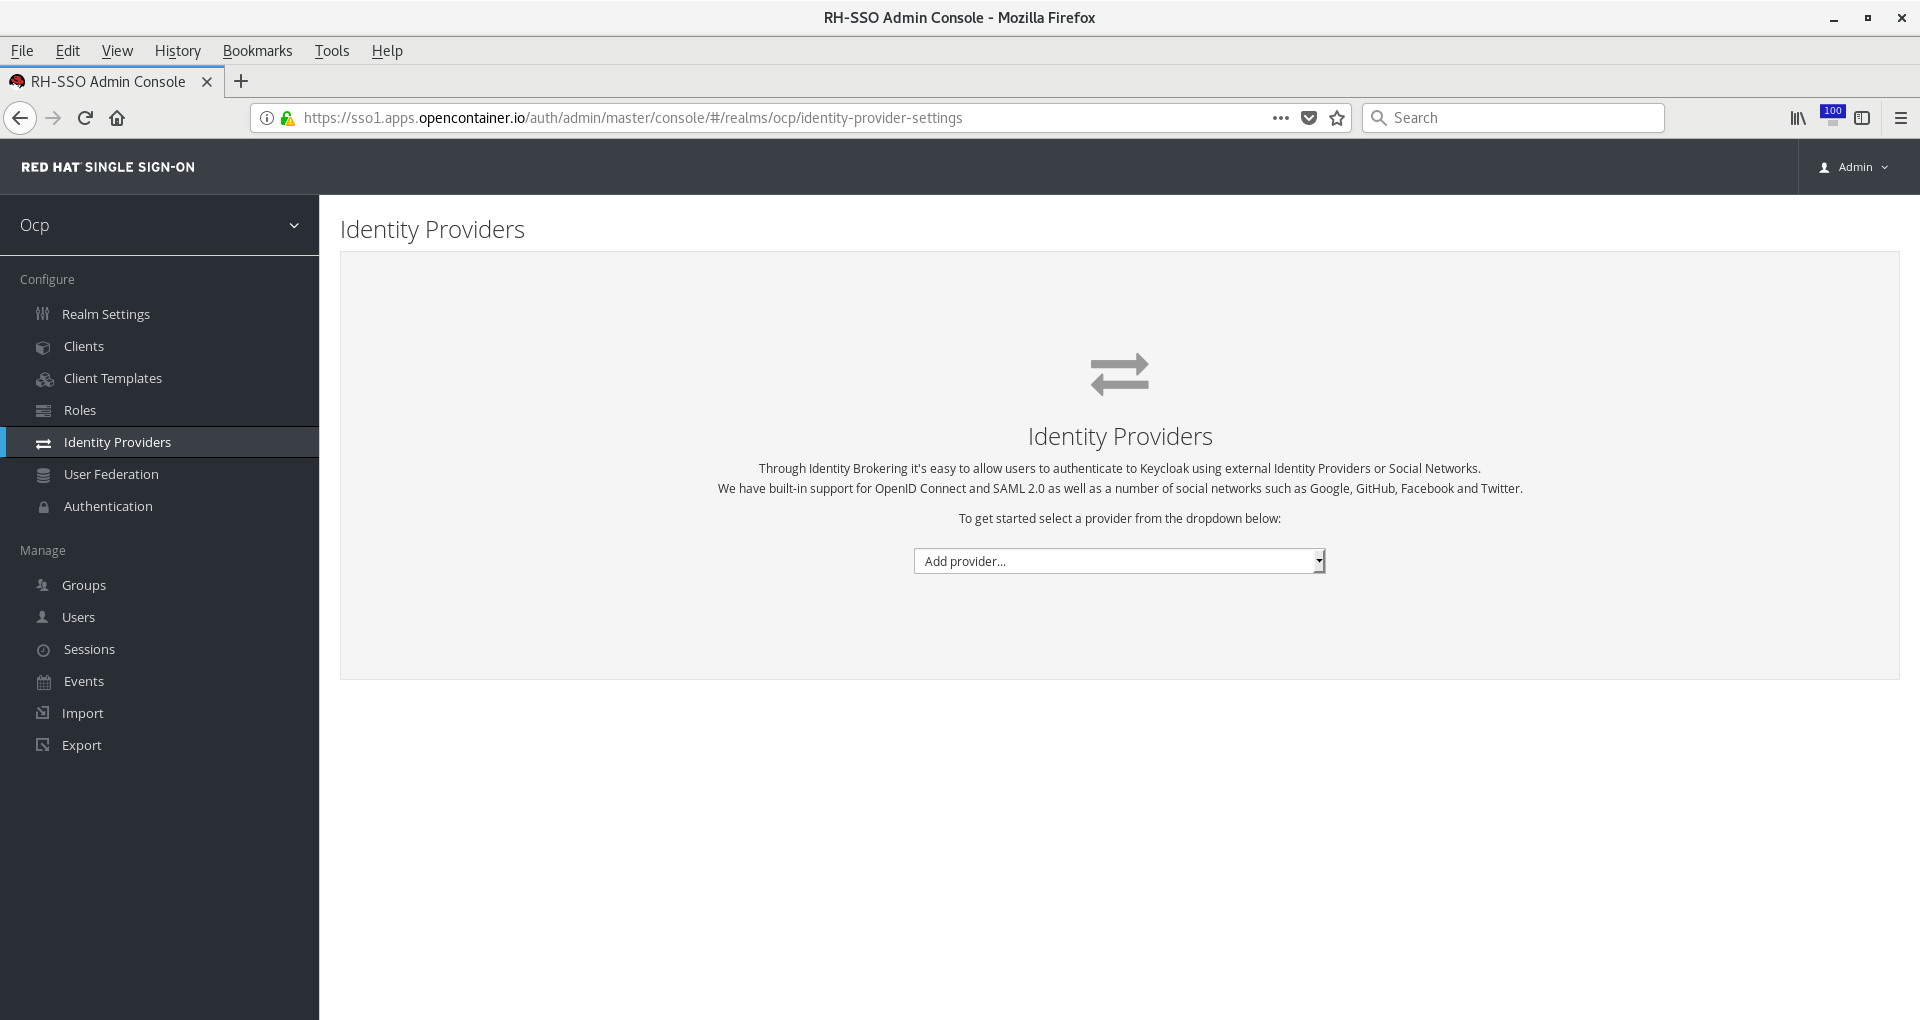
Click the dropdown Add provider… and choose OpenID Connect v1.0 from the dropdown.
Note that there is an easy-setup for Google. Do not use this one, as it
does not allow you to configure the hosted domain.
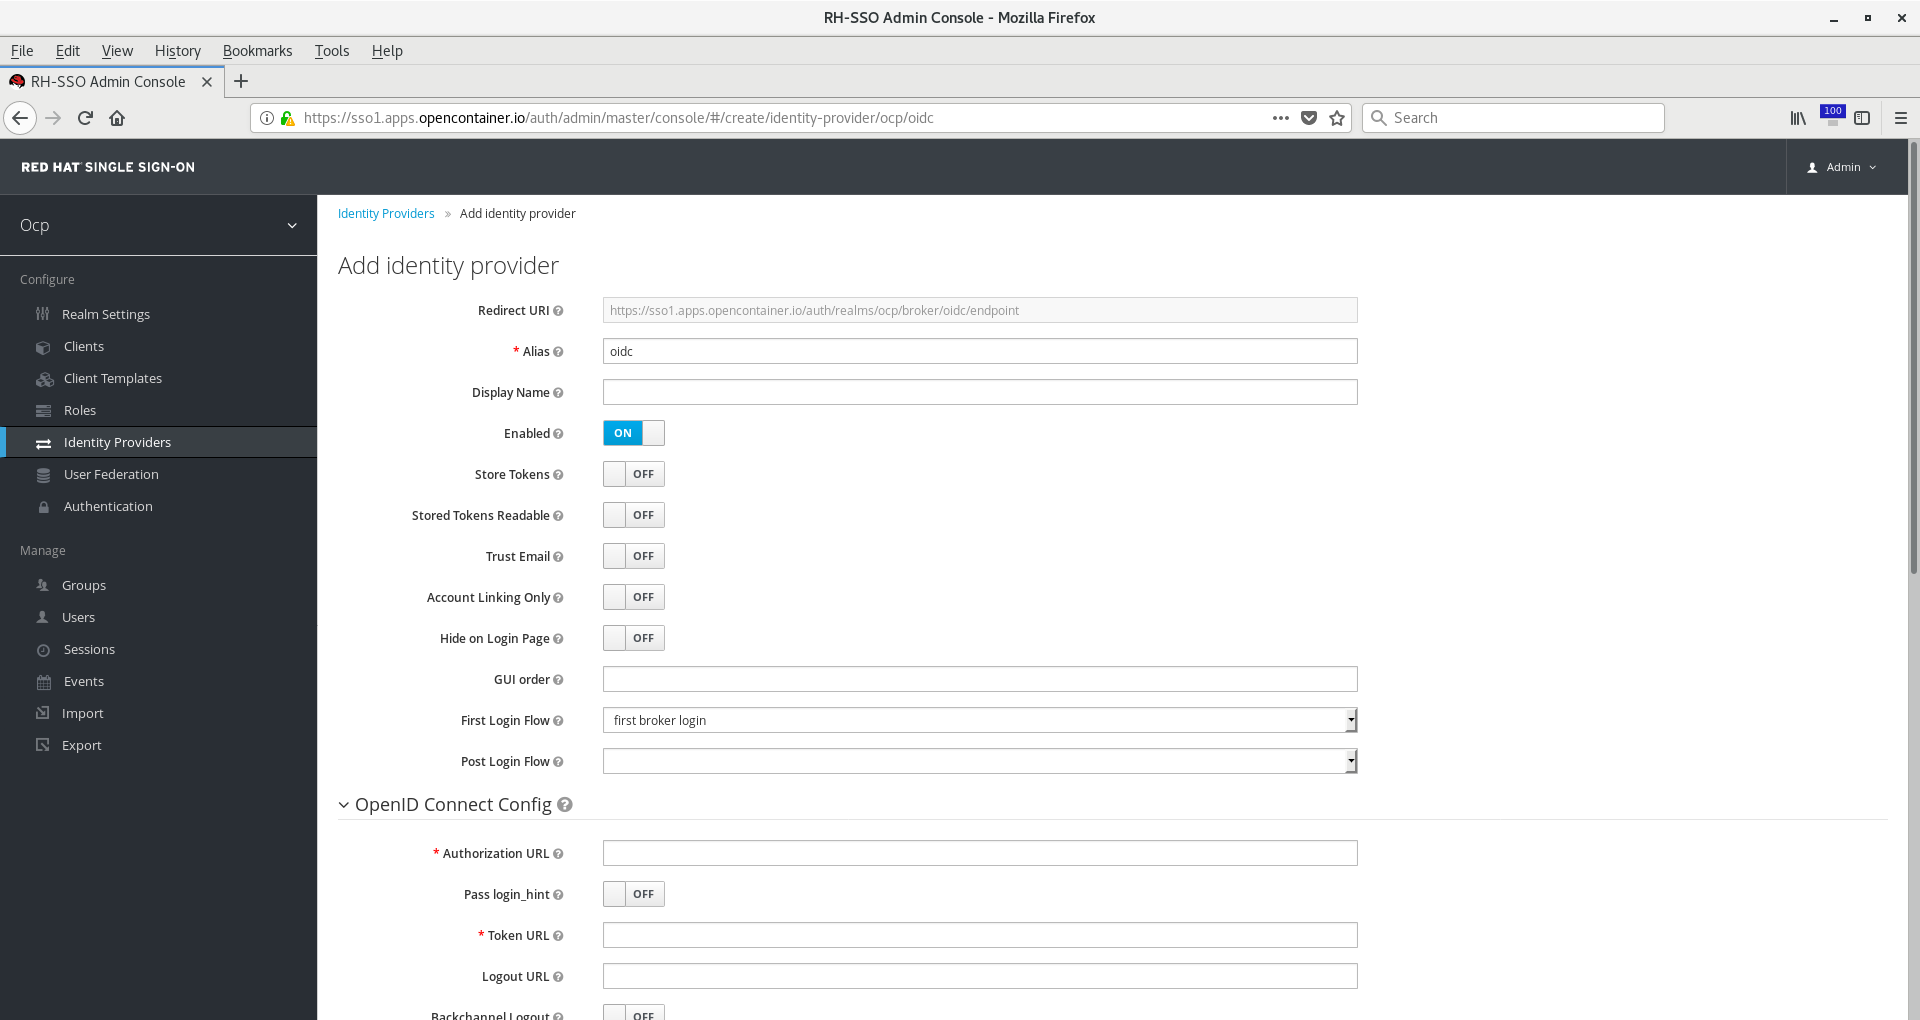
Note your redirect URI will be needed to configure the Google OIDC client in the Google Cloud Console. Add that now if you haven’t already done so.
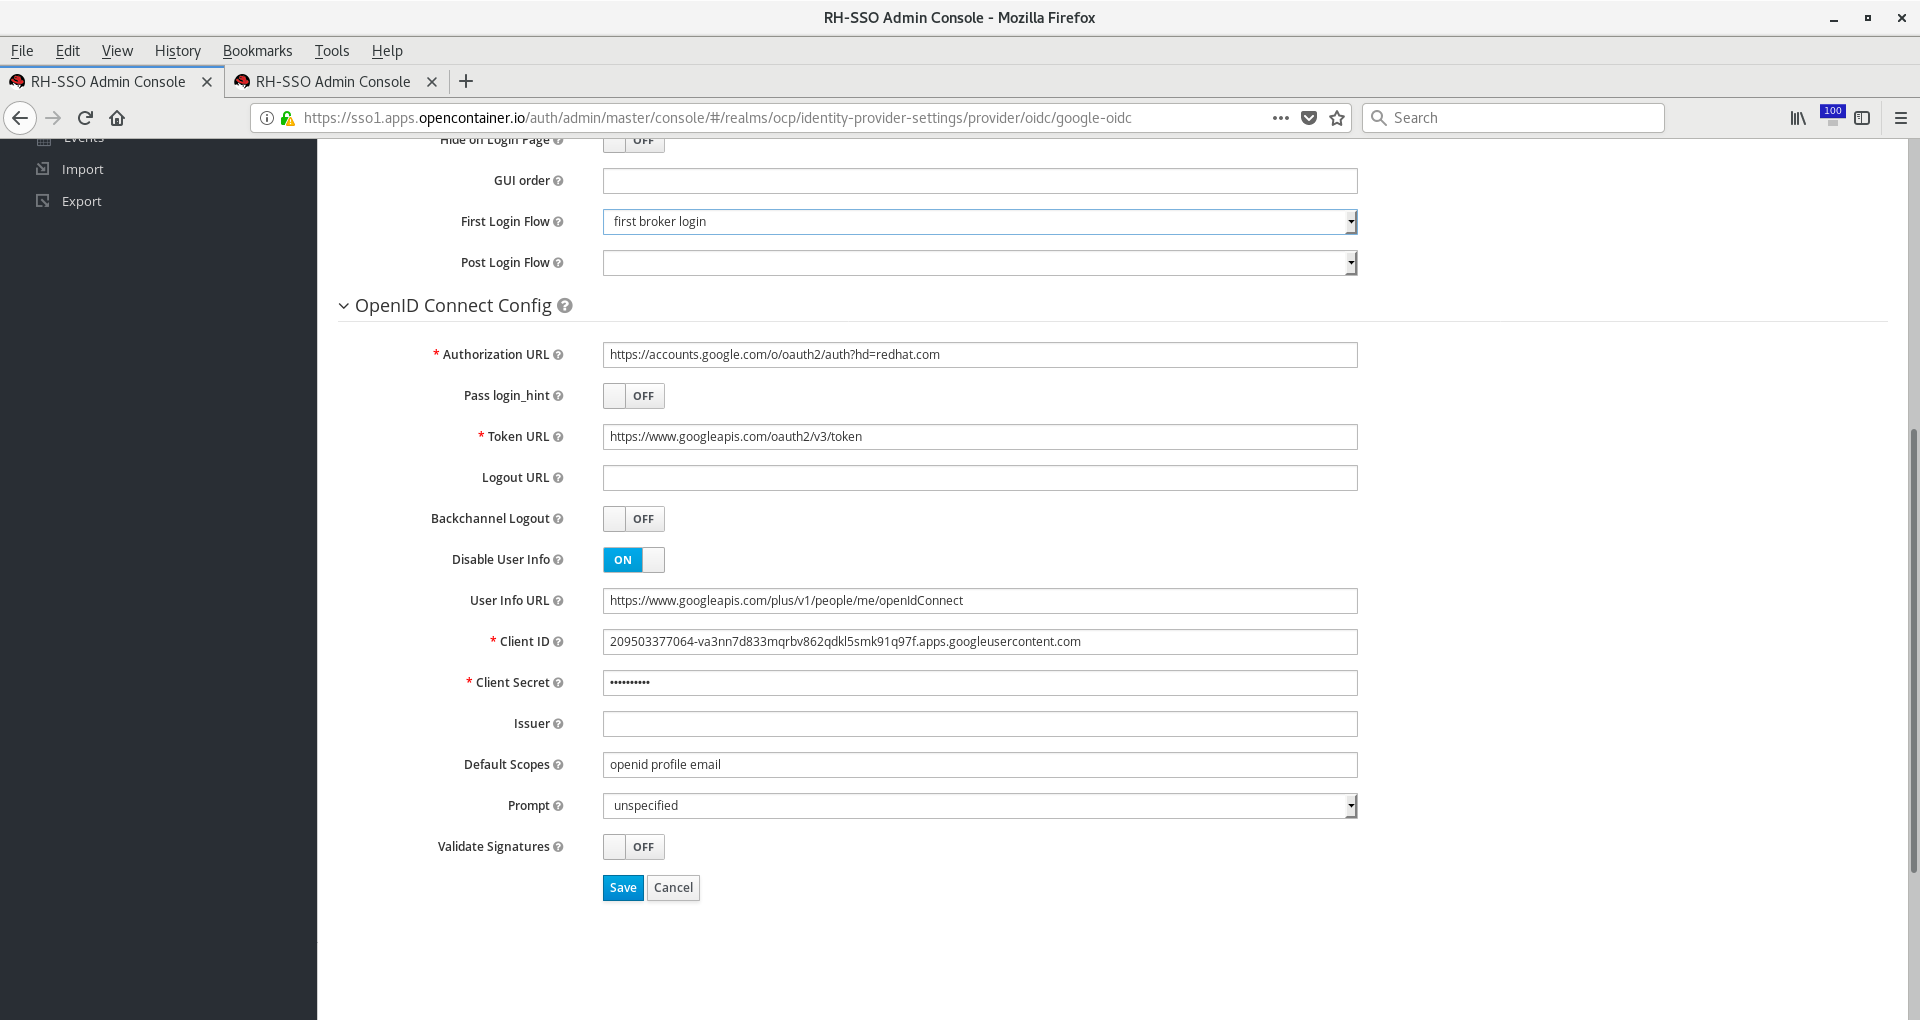
I named mine google-oidc. Enter the following fields:
-
Alias: google-oidc
-
Display Name: google-oidc
-
Authorization URL: https://accounts.google.com/o/oauth2/auth?hd=example.com
-
Token URL: https://www.googleapis.com/oauth2/v3/token
-
Disable User Info: Choose ON
-
User Info URL: https://www.googleapis.com/plus/v1/people/me/openIdConnect
-
Client ID: YOUR_GOOGLE_OIDC_CLIENT_ID
-
Client Secret: YOUR_GOOGLE_OIDC_CLIENT_SECRET
-
Default Scopes: openid profile email
Now you need to activate the broker profile you just setup.
Click Authentication from the left menu bar.
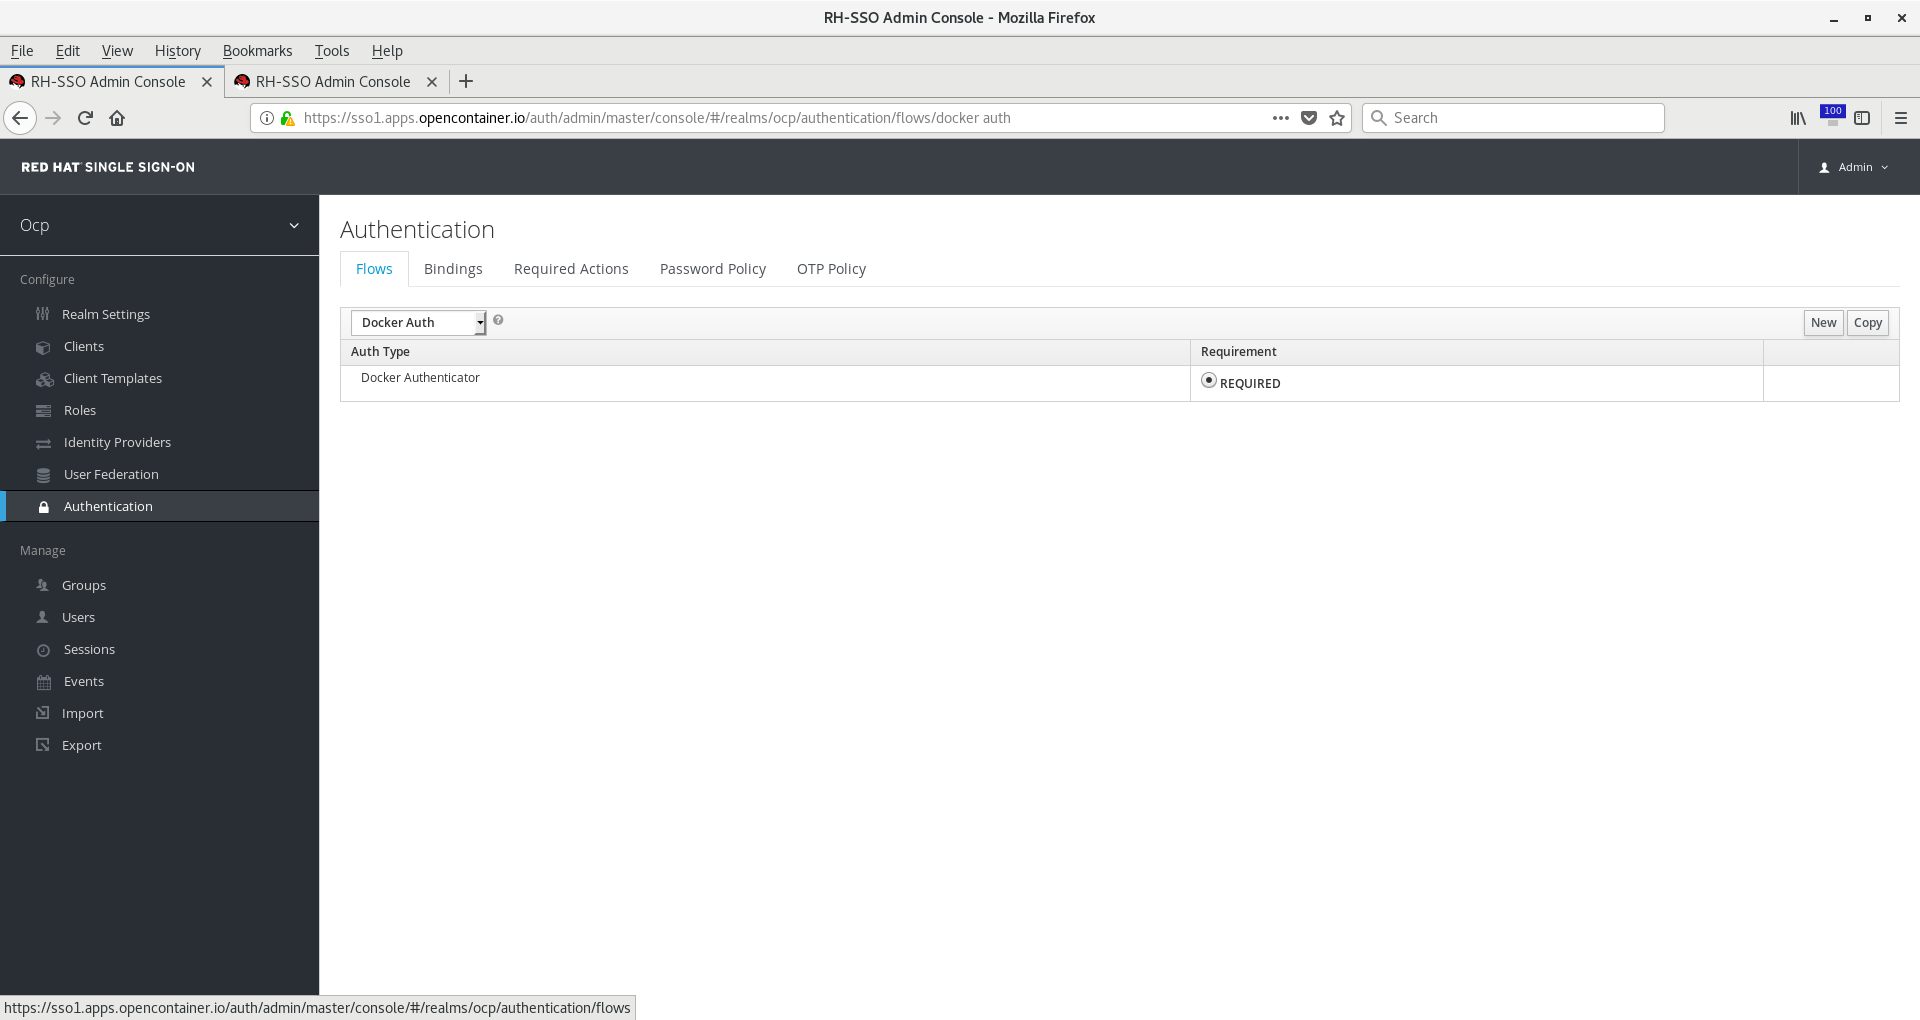
On the Flows tab choose from the dropdown menu Browser.
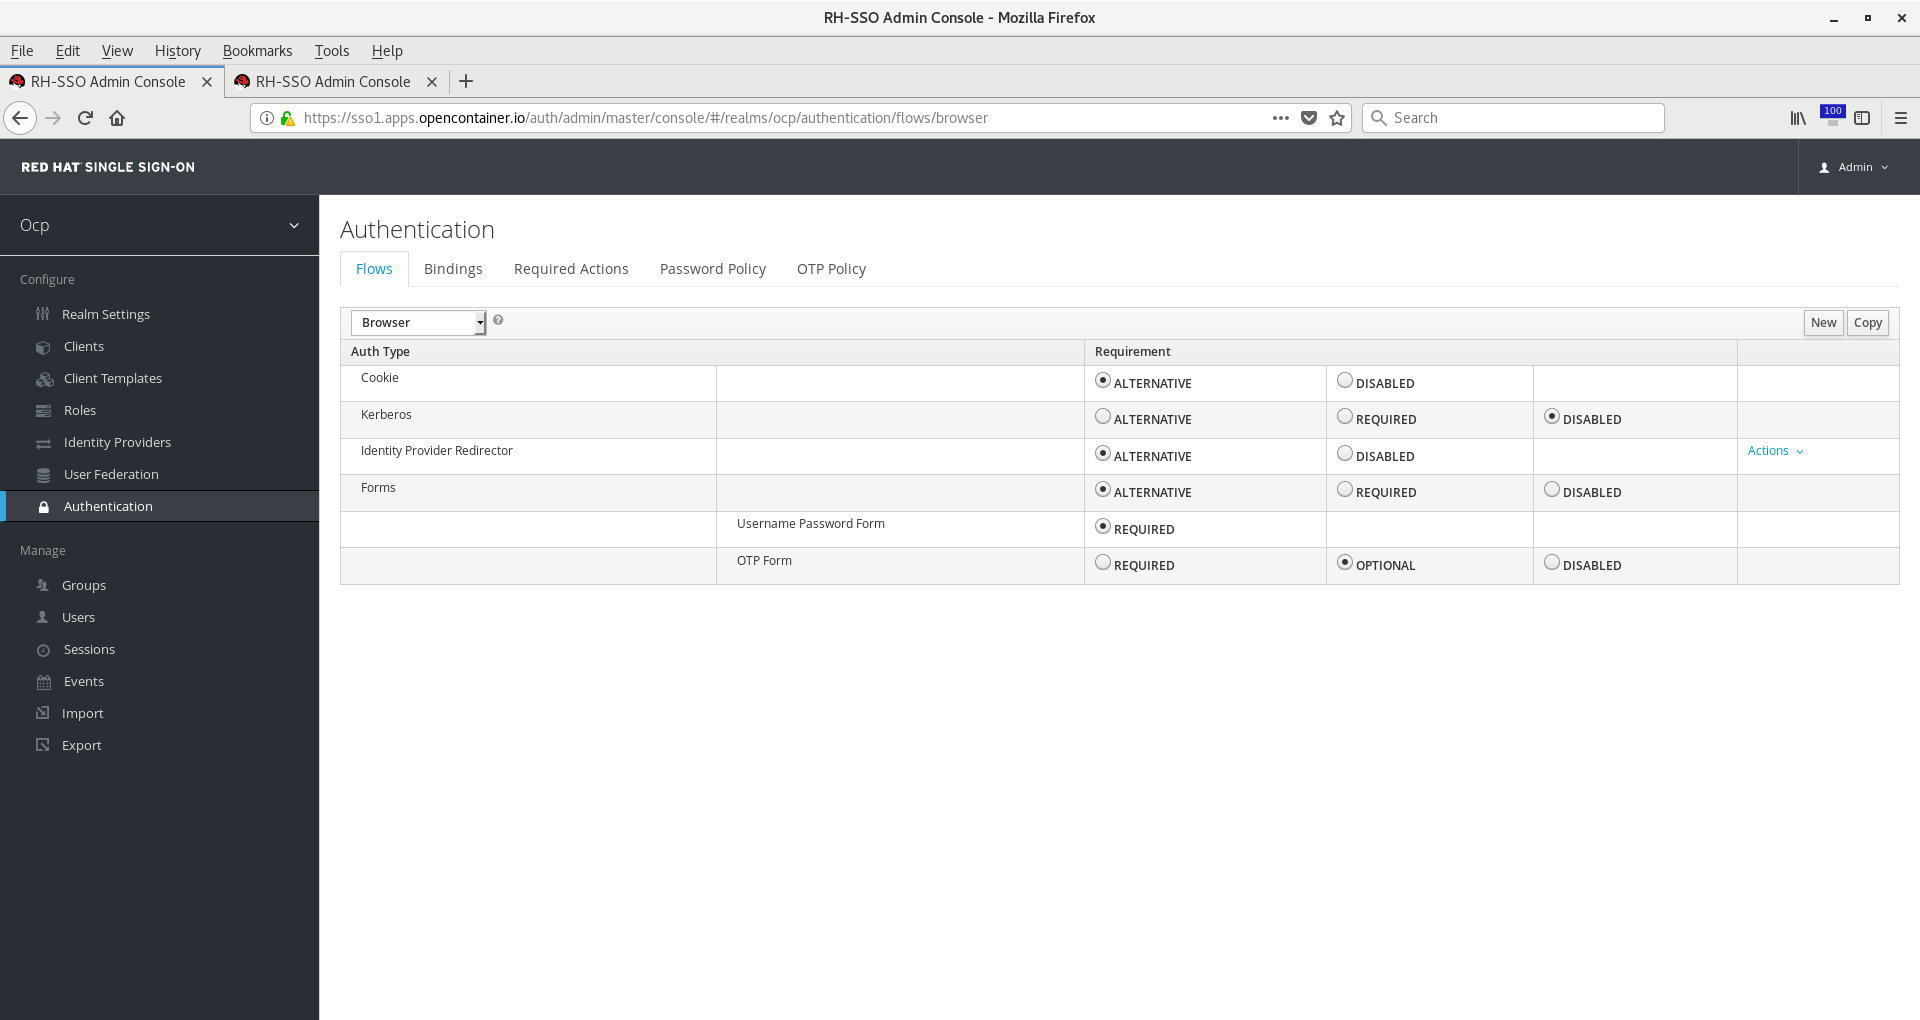
Click the copy button on the top right. Name it something like Browser-GoogleIDP and click ok.
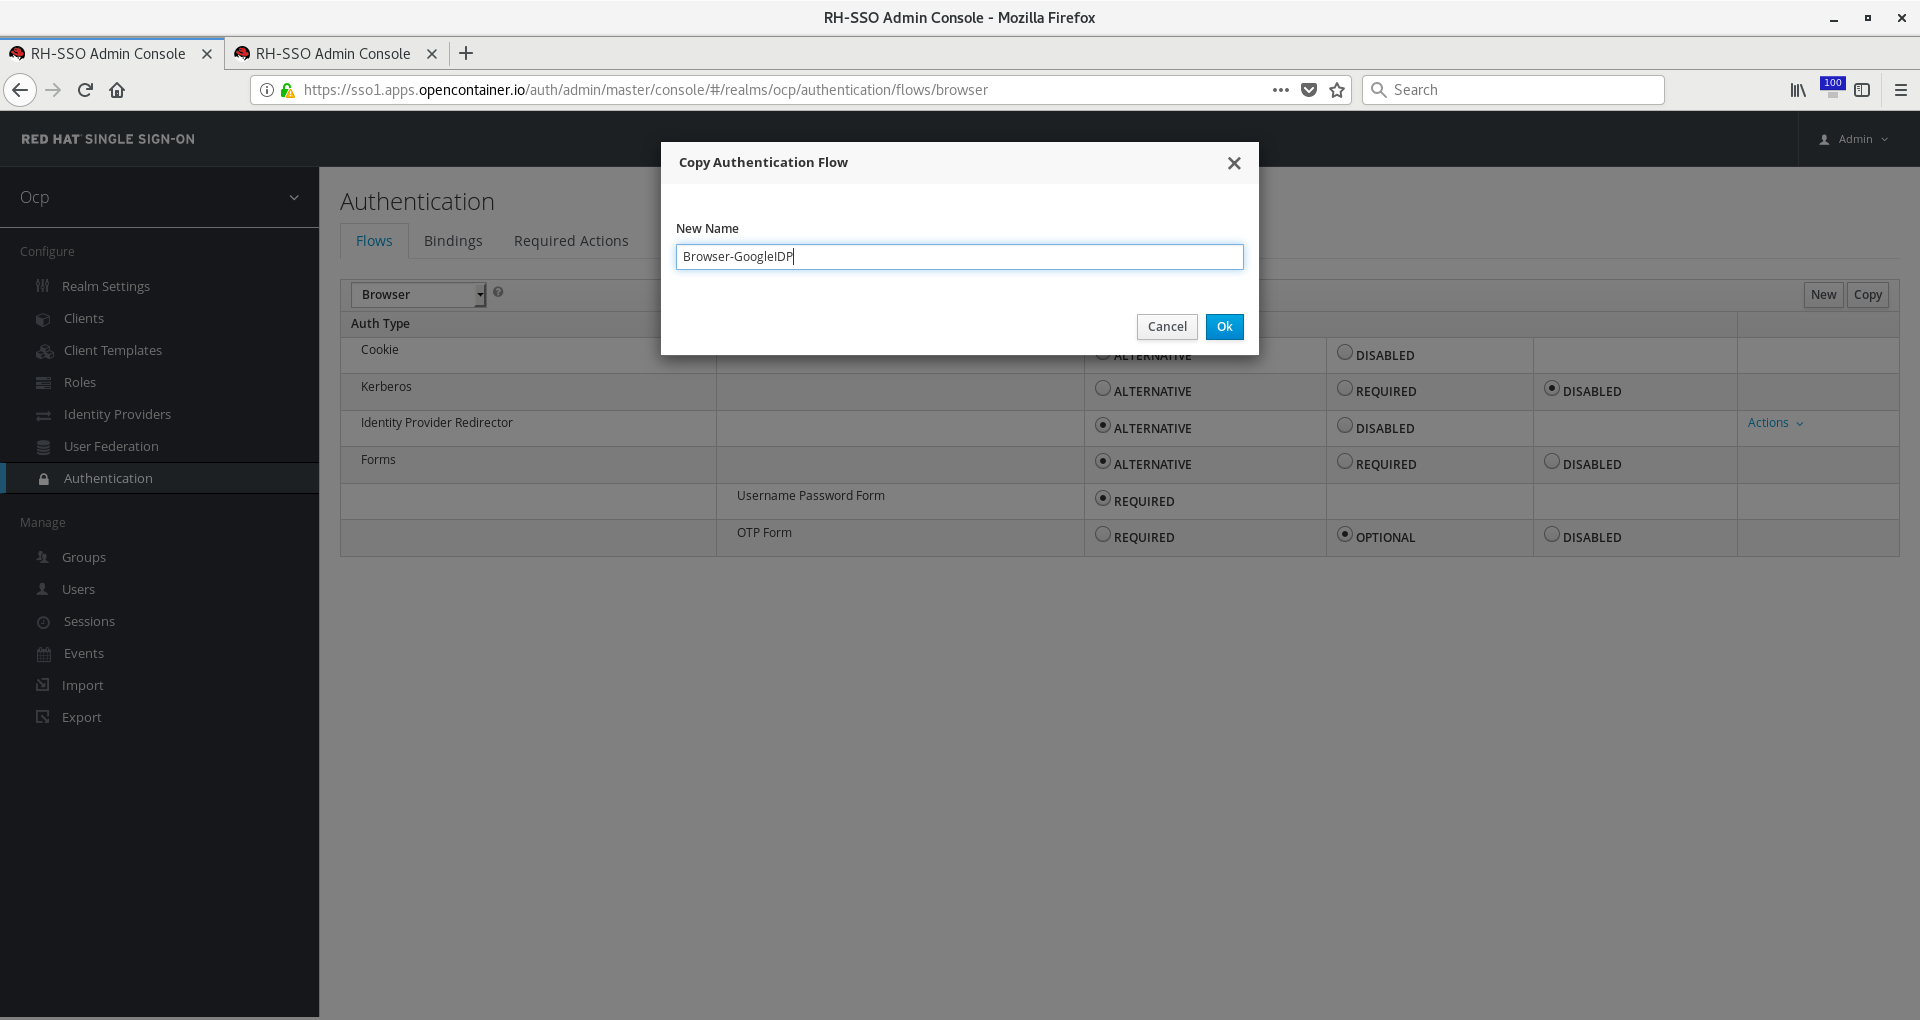
You can use the default Browser flow as well, but here we made a new one to preserve the original default and give us some flexibility.
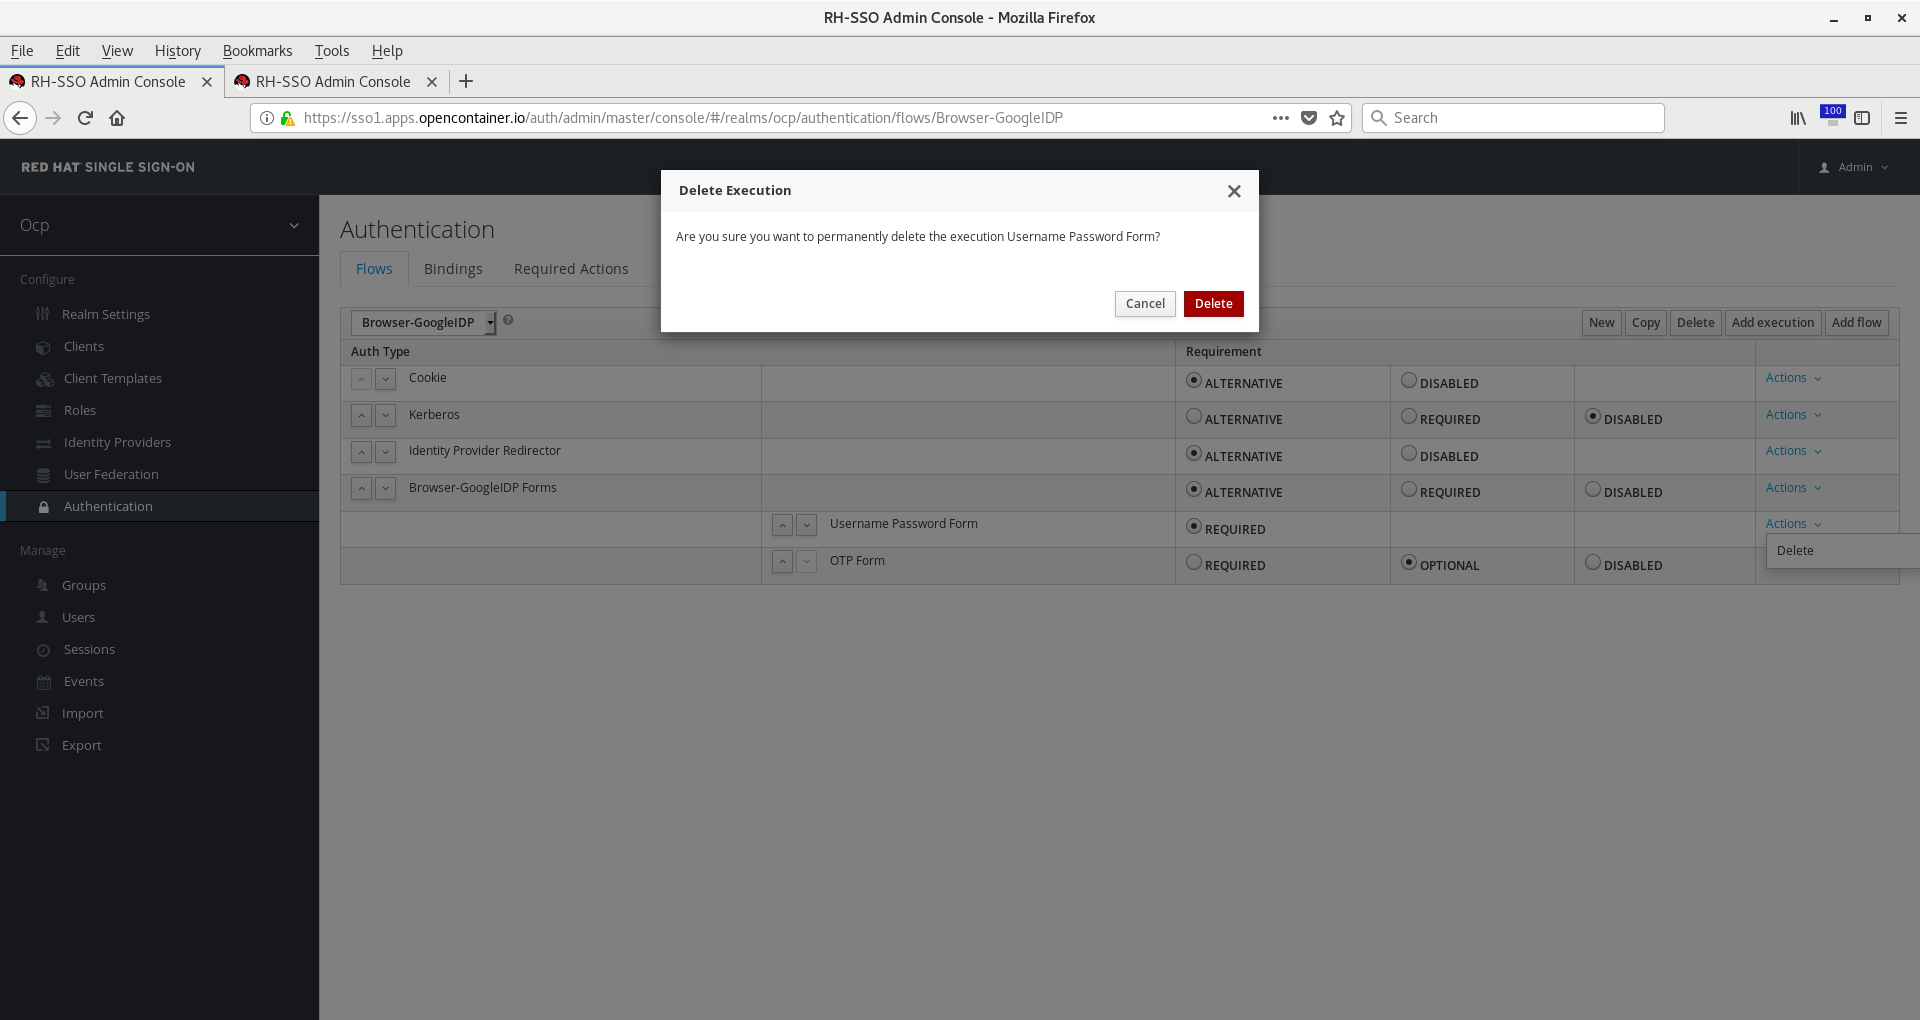
Since we don’t want Kerberos or Browser-GoogleIDP Forms, click Actions > Delete for both of them. The former
works when federating a kerberos/ldap server, which we are not doing here. The latter would provide a form login
when Google IDP failed to identify a user. In our case, all the users in our corporate directory are using Google,
so we know that’s the only auth mechanism we want. Leave the Cookie auth flow in place because that’s what is responsible
for the SSO between other apps authenticating with the RH-SSO server that we may add later.
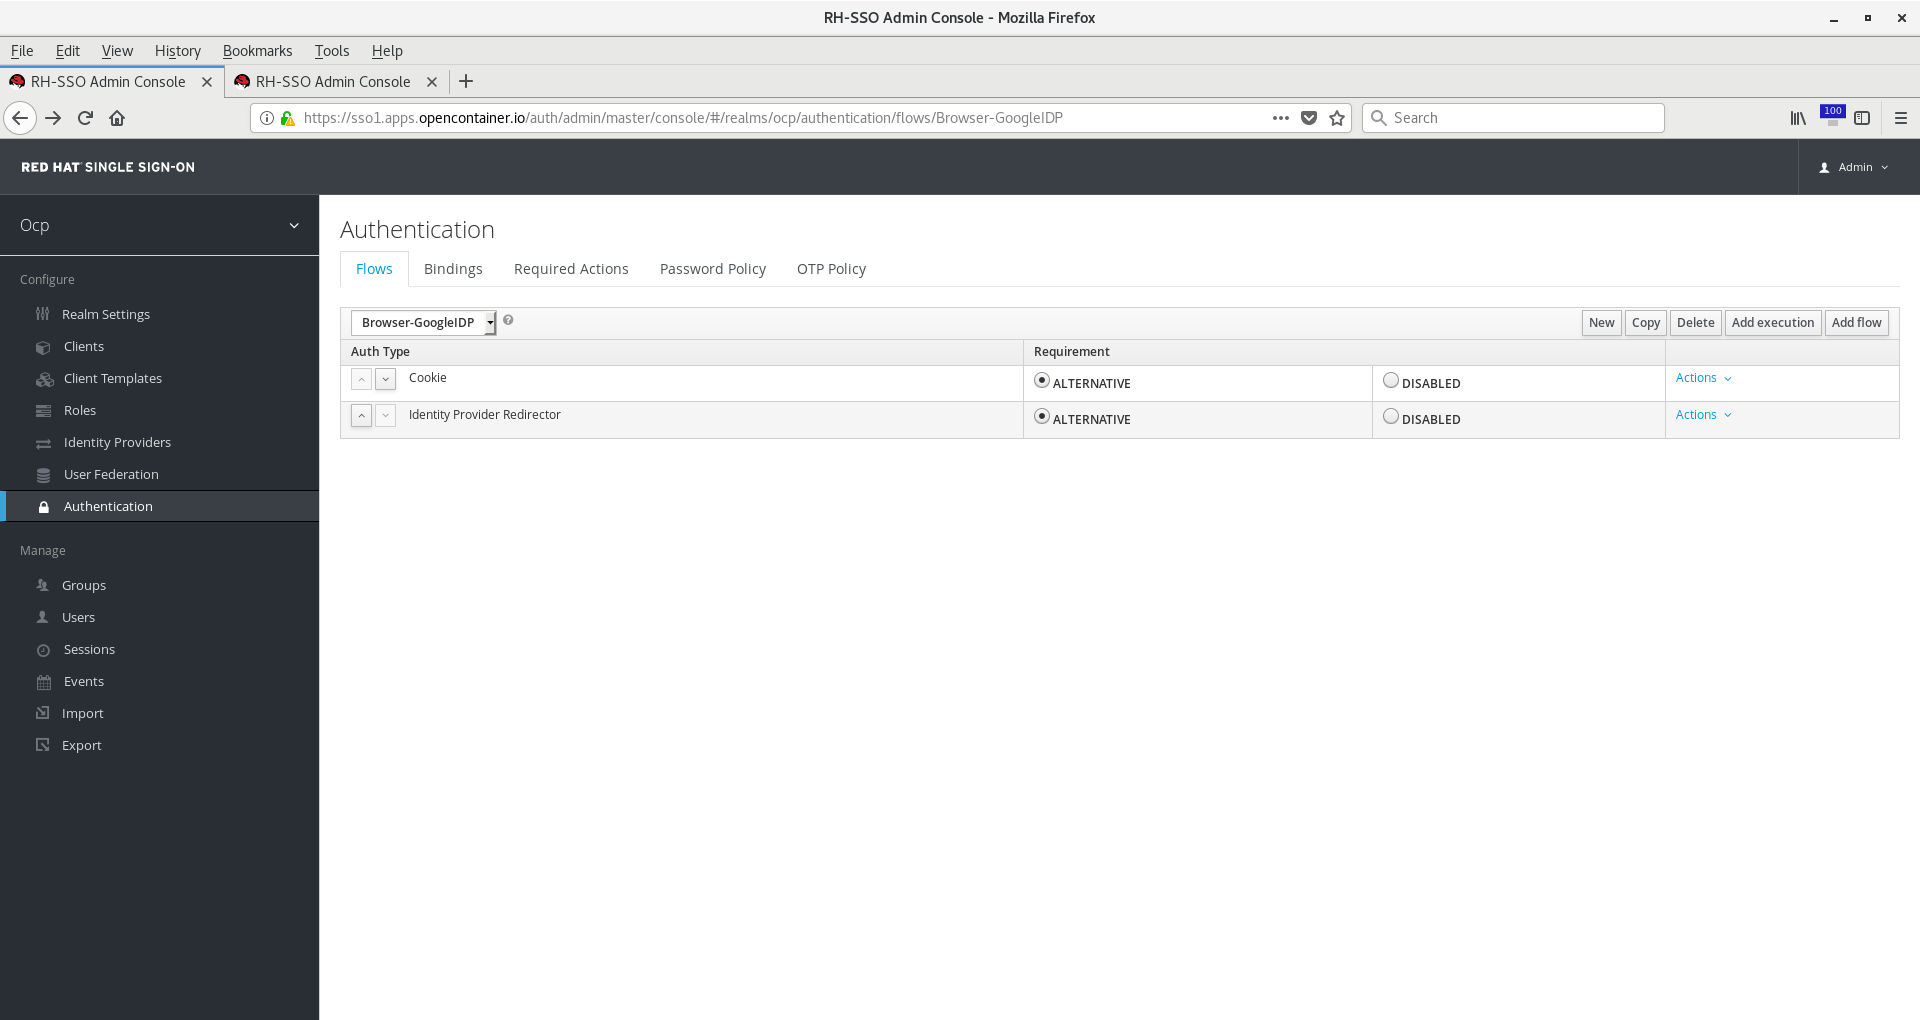
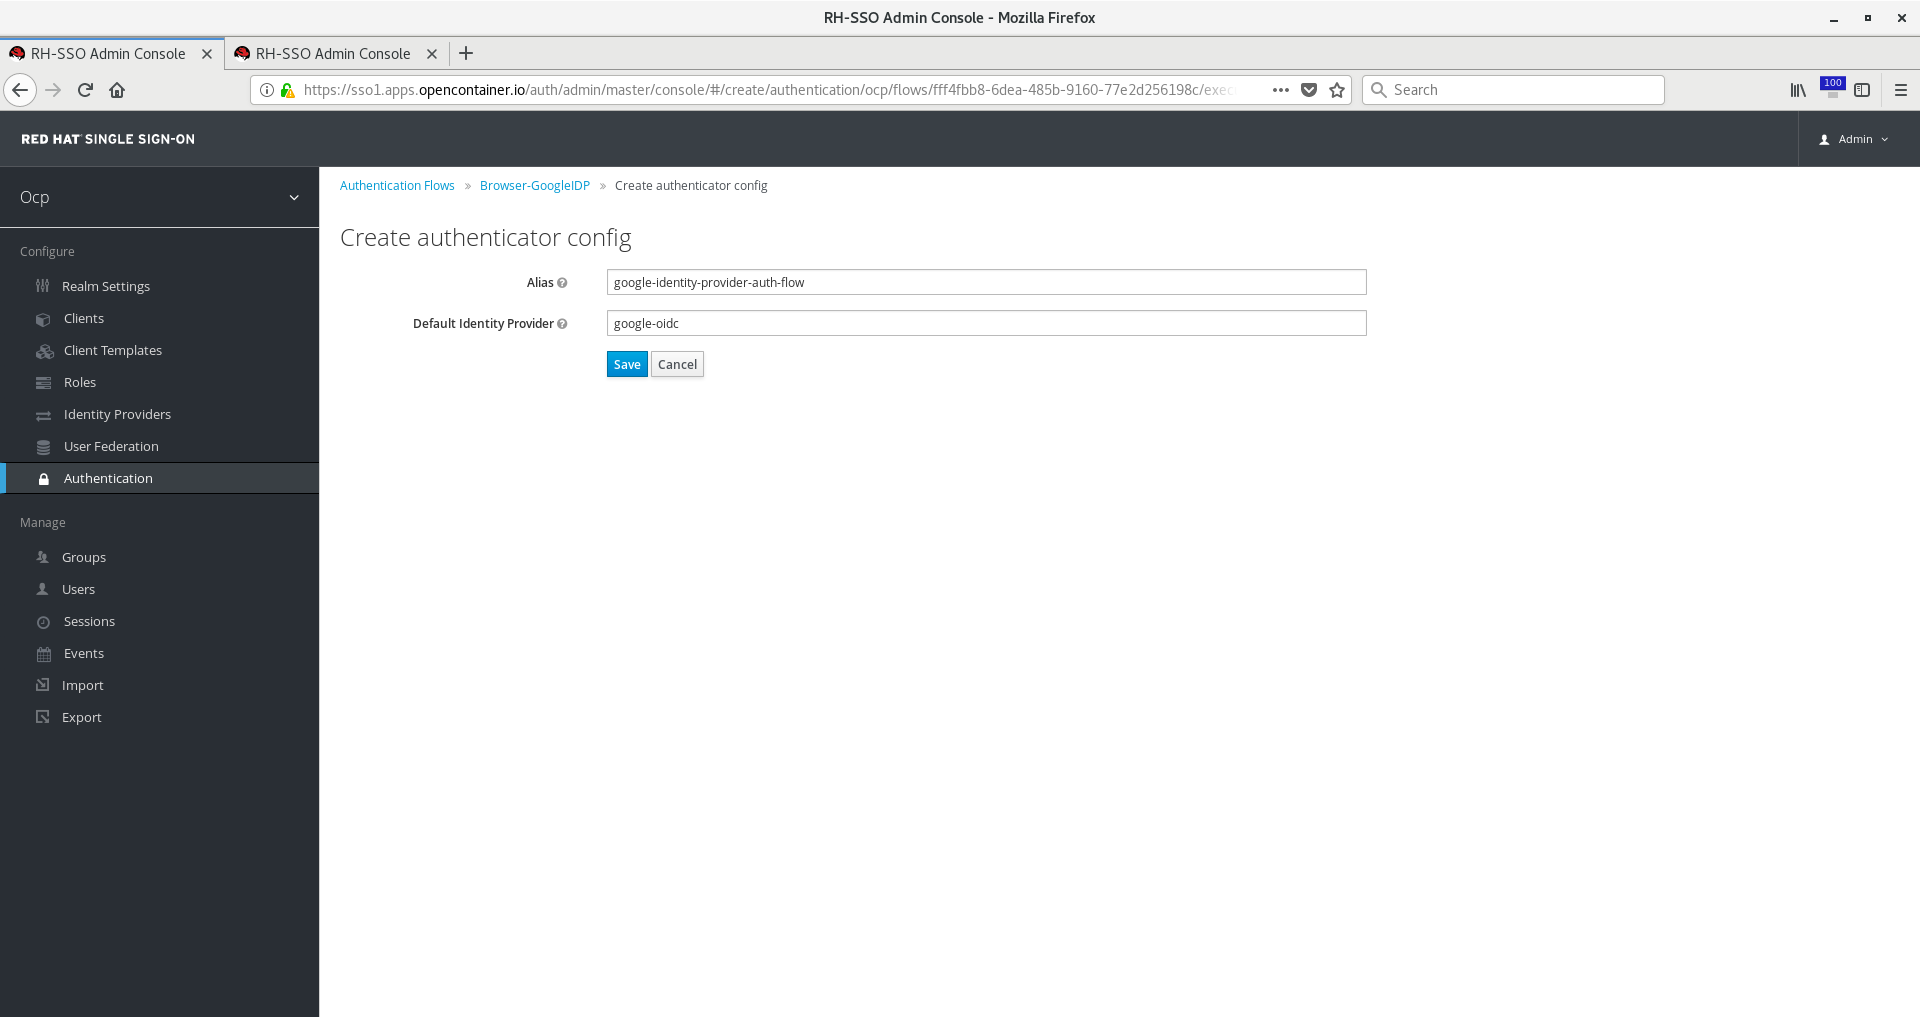
Now on the Identity Provider Redirector flow, click Actions > Config. Give it any alias but be sure Default Identity Provider
matches the identity provider alias you chose in the steps above when creating the OIDC provider. Click Save.
Go back to Authentication Flows or choose Authentication from the left menu bar. Click on Bindings. Change Browser Flow to
Browser-GoogleIDP or whatever you named your new flow. Click Save.
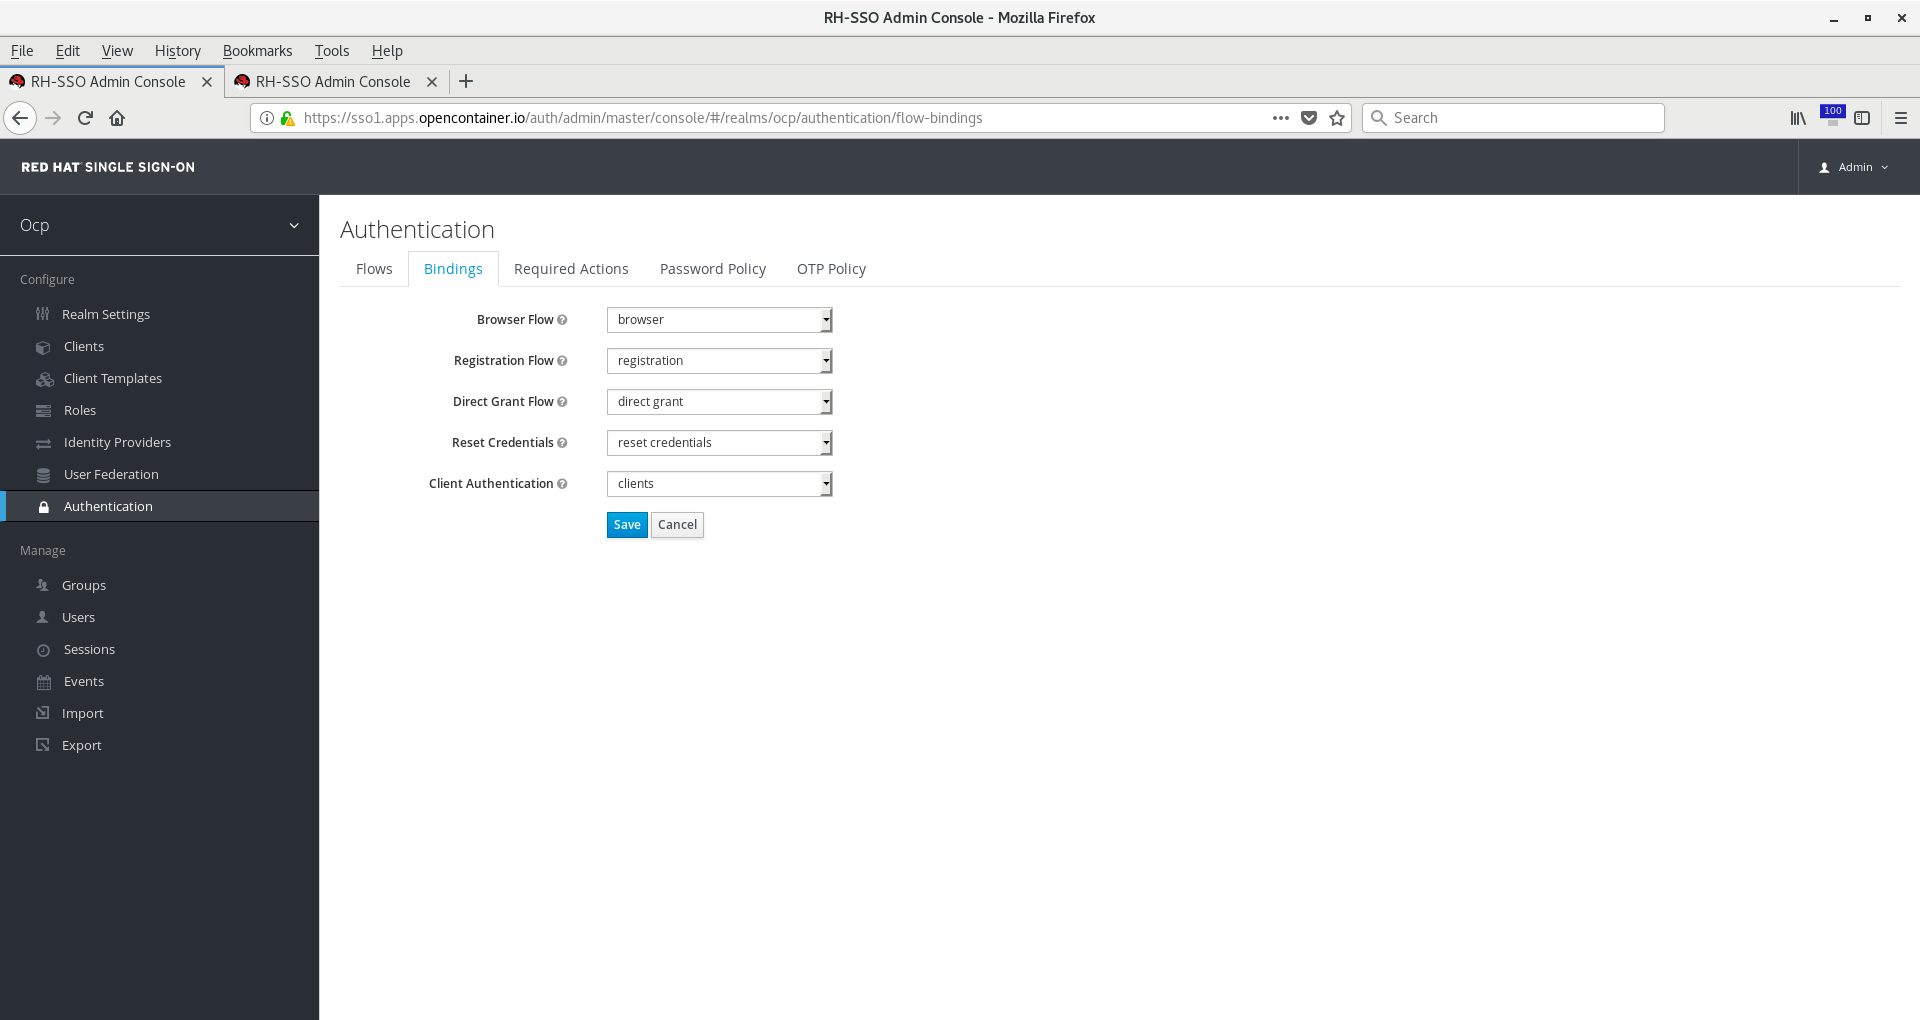
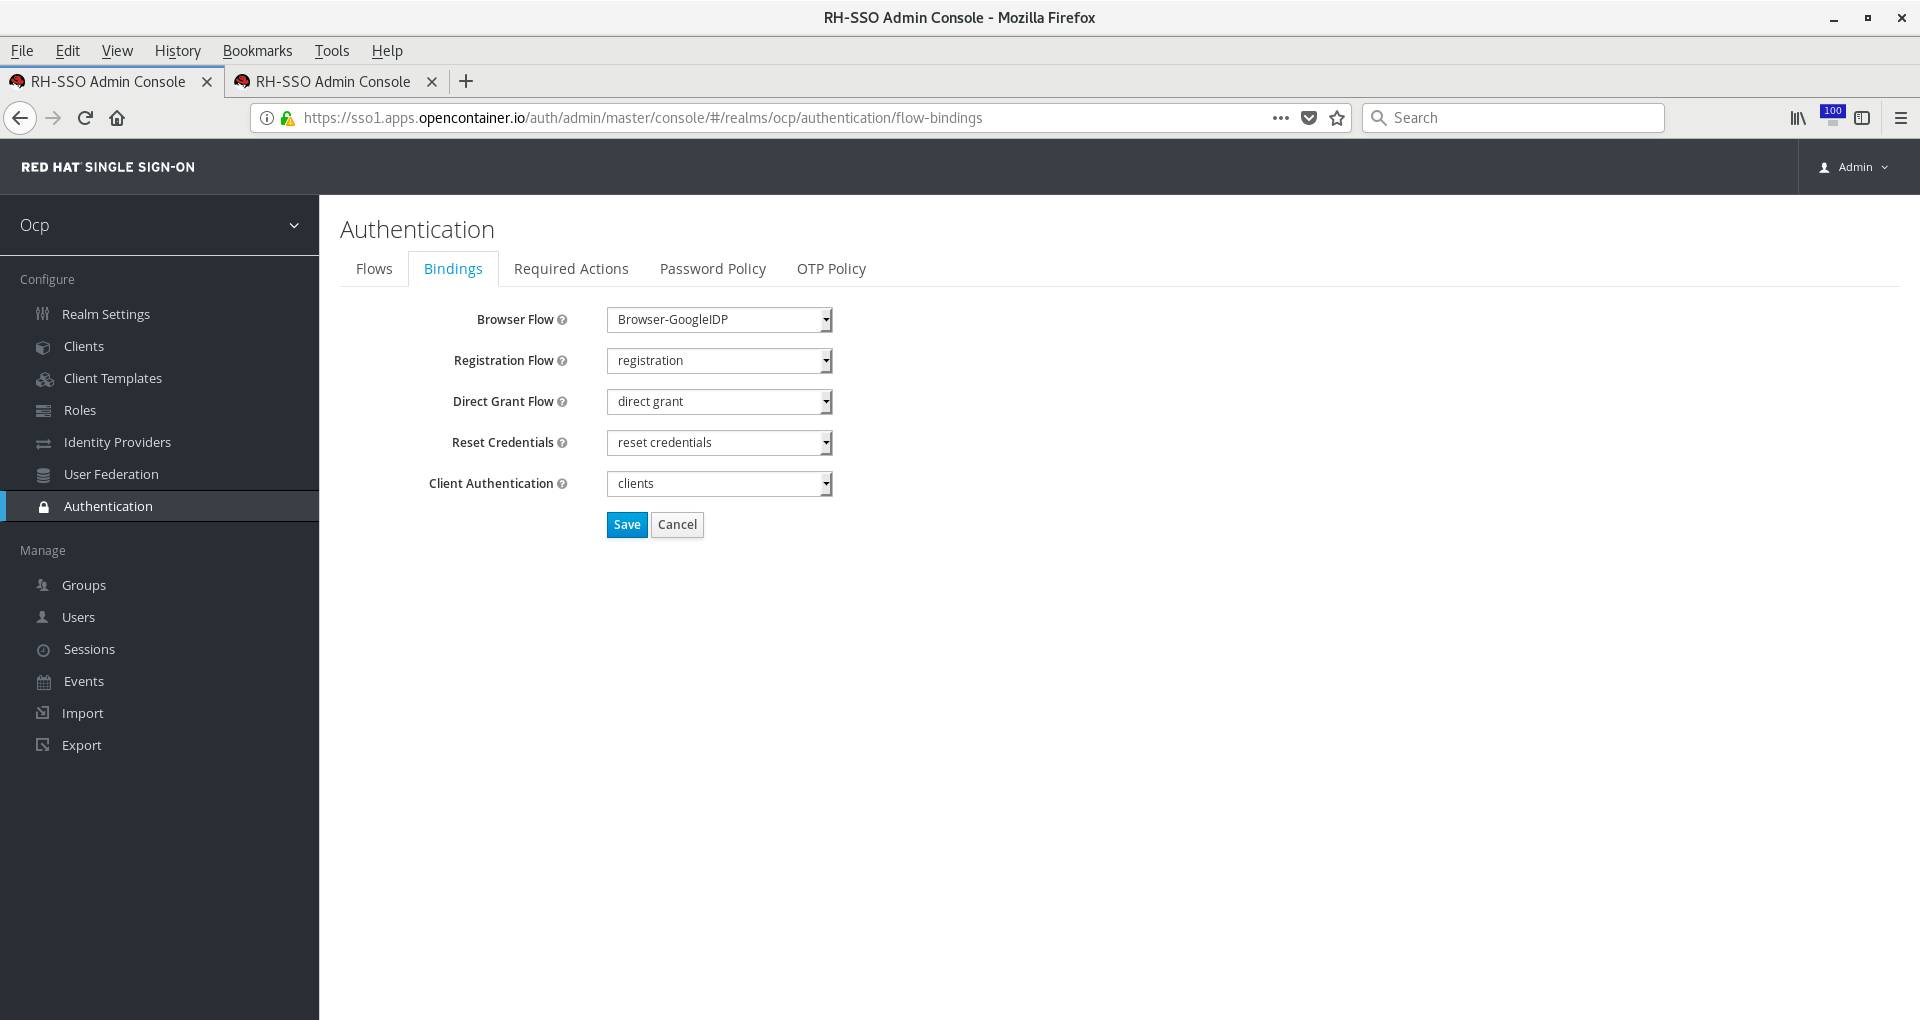
Your RH-SSO server is now configured for your Google authentication.
TODO: add a few other good configurations, such as SSL only.
Debug Notes:
I ran into this issue where OpenShift did not authenticate my user, but rather gave me this "Could not create user." error. I came to realize that while I had been deleting the test user in RH-SSO to perform various scenario tests, I had failed to delete the user created in OpenShift as well. If you are deleting and recreating your test user, be sure to delete it both from RH-SSO and OpenShift.
$ oc delete user USER_NAME
Google Identity Platform: OpenID Connect: https://developers.google.com/identity/protocols/OpenIDConnect